With all the unrest in the world, people are increasing the quantity of food they are keeping in there homes. From the average 1-3 months worth of food to 6-12 months or more worth of food and essentials for our homes.
We not only keep our food in our kitchen cupboards and pantry closets we are turning bedrooms, bathrooms, and even sections of our garages into makeshift storage for our families. Some homes come with cold storage in the basement usually under a patio. Now, more then ever we need to know what we have, where we put it, and when it expires. Remember this is the ultimate in back-stock and must be rotated into your main food pantry before getting more. This will minimize waste and over purchasing.
First word of advice. Keep and store only what your family actually uses, and likes. Otherwise it will most definitely expire and that just becomes a waste of money and valuable space. No one wants that!
Step one: Choose your space. Spare bedroom, bathrooms, or extra closet. Then clear it out and clean it. Wash walls, patch any holes, baseboards, paint ceiling to floor, mop or vacuum. Wow it looks great! Now your ready to bring in shelving.
Step two: Take measurements length, width, and height. Now for the fun part, you get to pick how you want your space to feel.
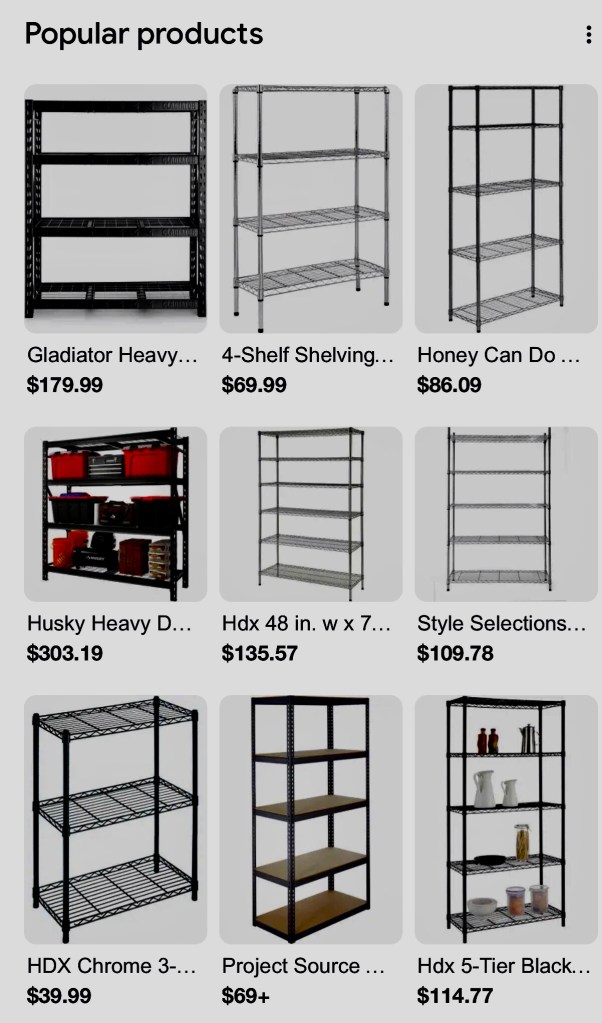
Pick metal shelves for a more industrial feel. Metal will also hold more weight and are easy to sanitize. So if you have a lot of very heavy food this could be a good option. Available at your local hardware store.
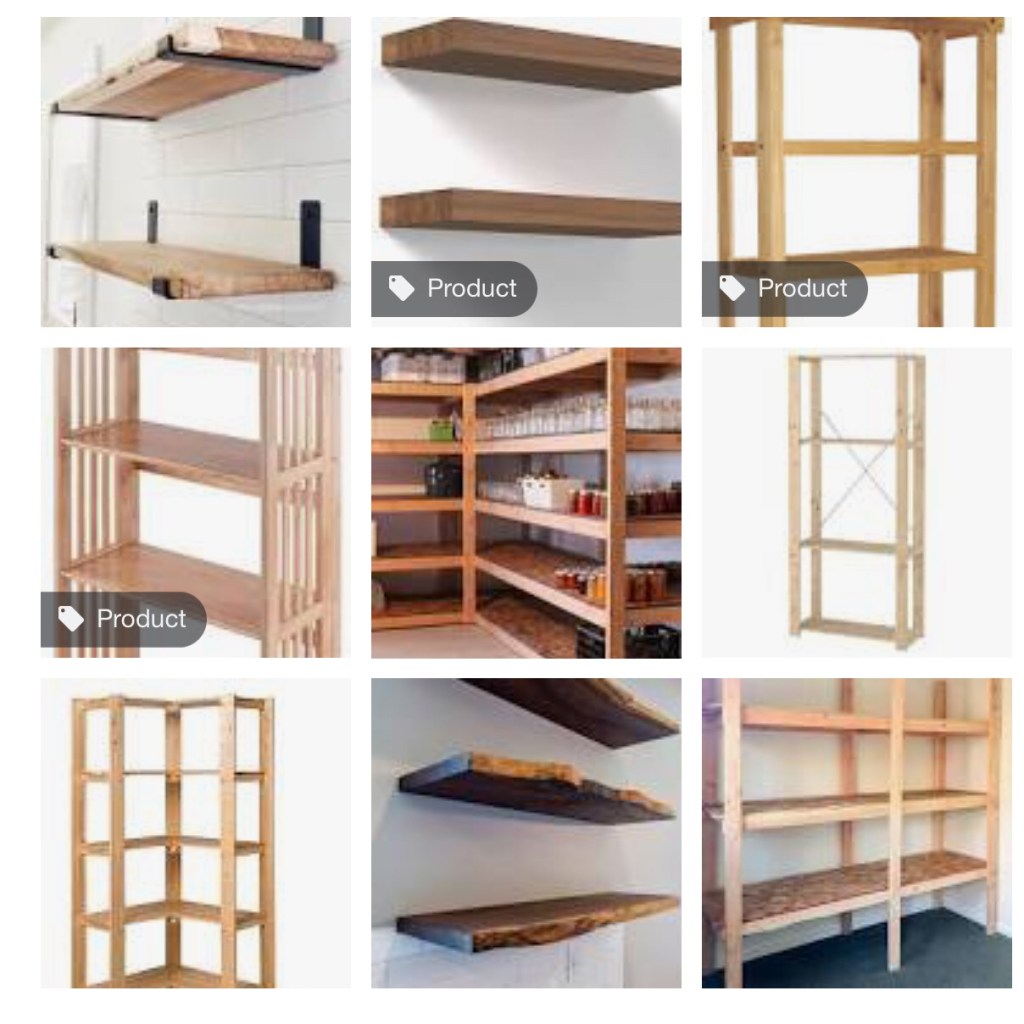
Wood shelves have a warm homie feeling about them. If you are making shelves where the color and grain of the wood is an important part of the design, look for oak, maple, or cherry plywood—these options will still offer durability and beauty, but will help keep costs down.
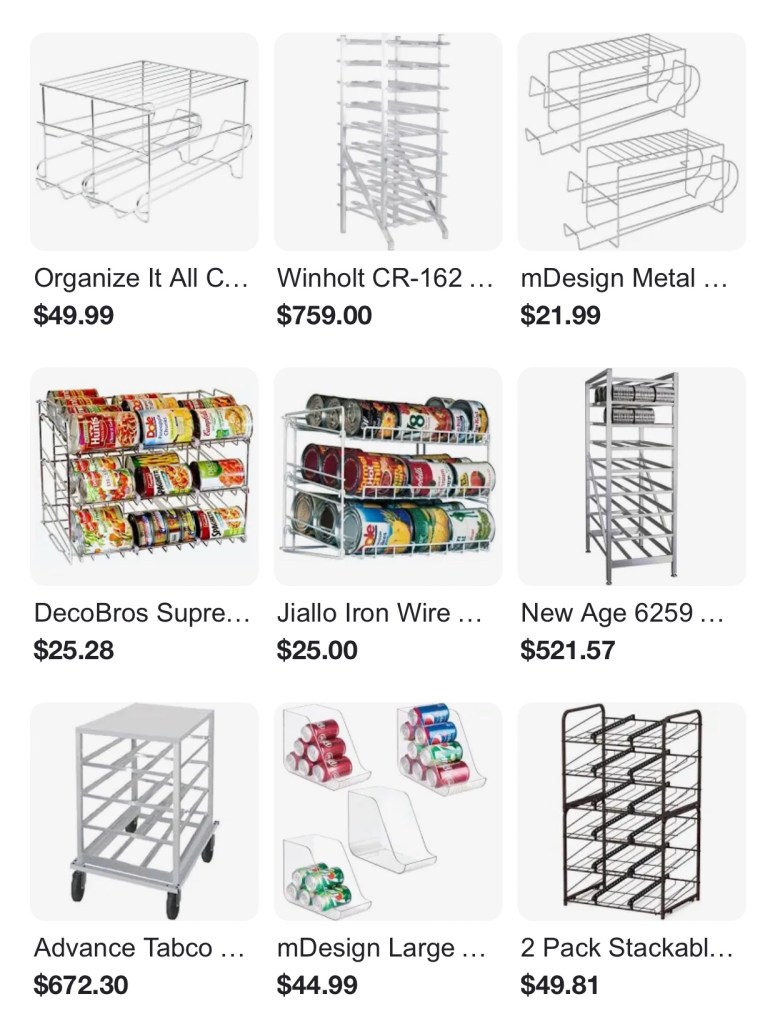
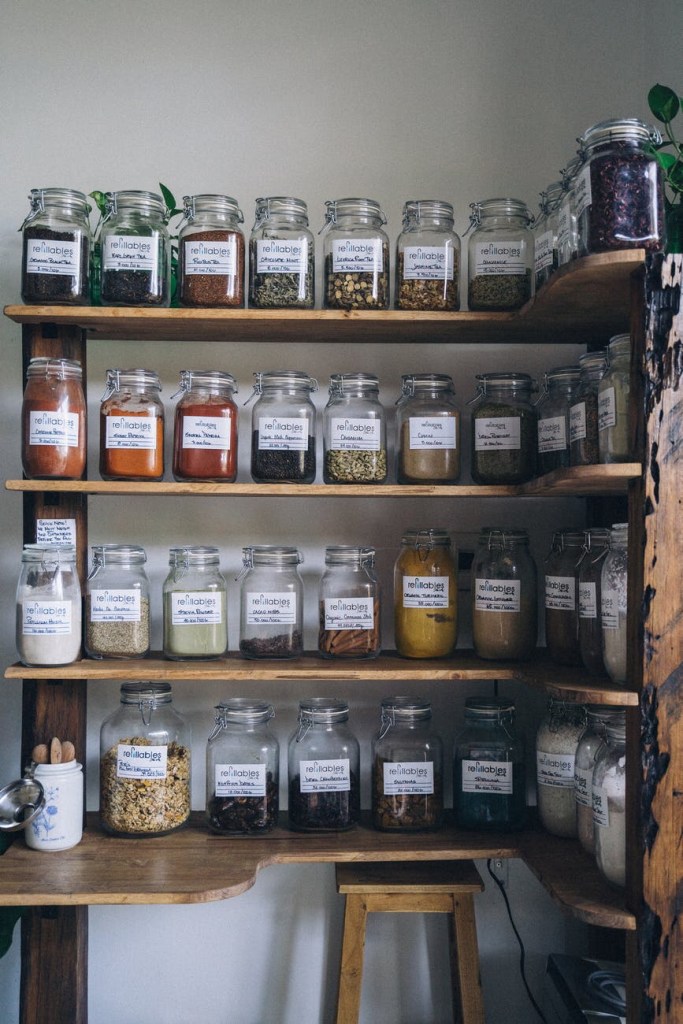
Step three: Choose storage containers. The right storage containers are a vital part of your back stock. Bins, baskets, and can racks will all be needed in this space. Rotation is key to keeping your food fresh and edible.
Step four: Sort, edit, and purge everything. Check for any expired foods. Let’s start with all good usable food here. Separate into categories ie: snacks, baking, proteins, fats, seasonings, dairy, and fruits and vegetables. You can do as many categories as you feel your space needs or makes sense to you and your family.
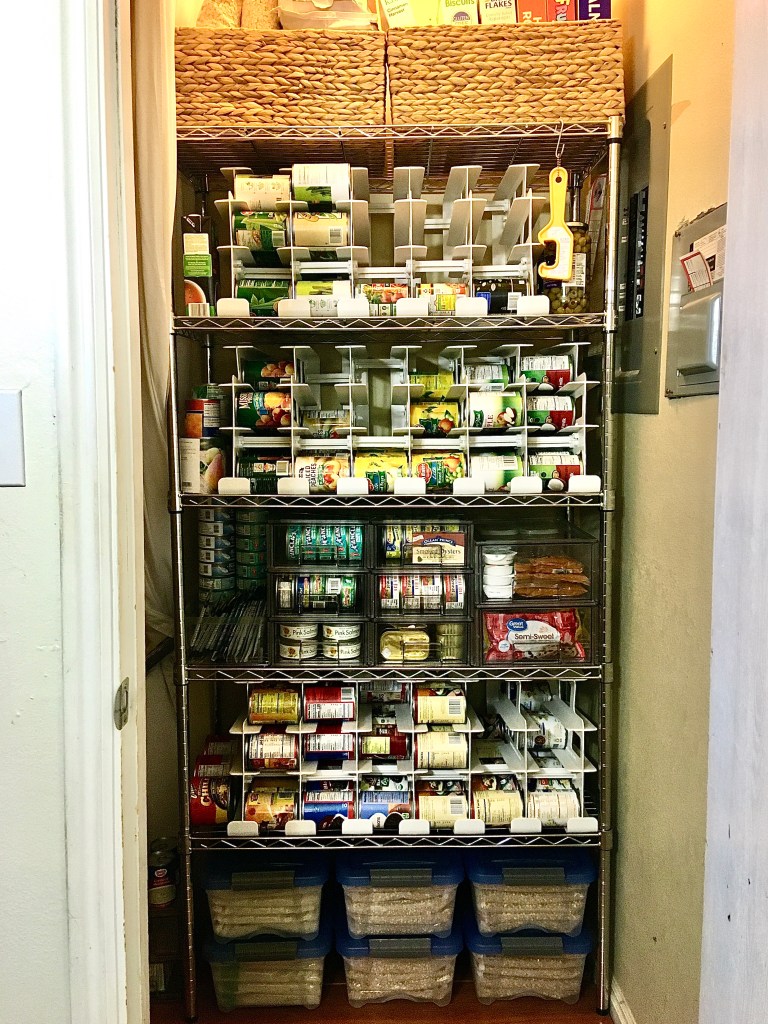
Step five: Group like items together into bins, baskets, or can racks and place them on the shelves. Continue in like manner till all of the groups and categories are in their perspective spots.
Step six: Label everything bins, baskets , and can racks.
Way to go! Your food storage looks better then the grocery store.
Subscribe to HOMe Newsletter
Get more in-depth information in our Newsletter

Leave a comment